Flooring craft × in-house intelligence
Experienced hands.
Intelligent planning.
Beautiful floors.
A well-laid floor starts with the decisions you rarely notice: the direction of the boards, the rhythm of the joints and the cuts along each wall.
At Artemis, we bring traditional flooring experience together with AI-assisted tools developed in house—so you can see the thinking before the first board goes down.
See how we plan your floor ↓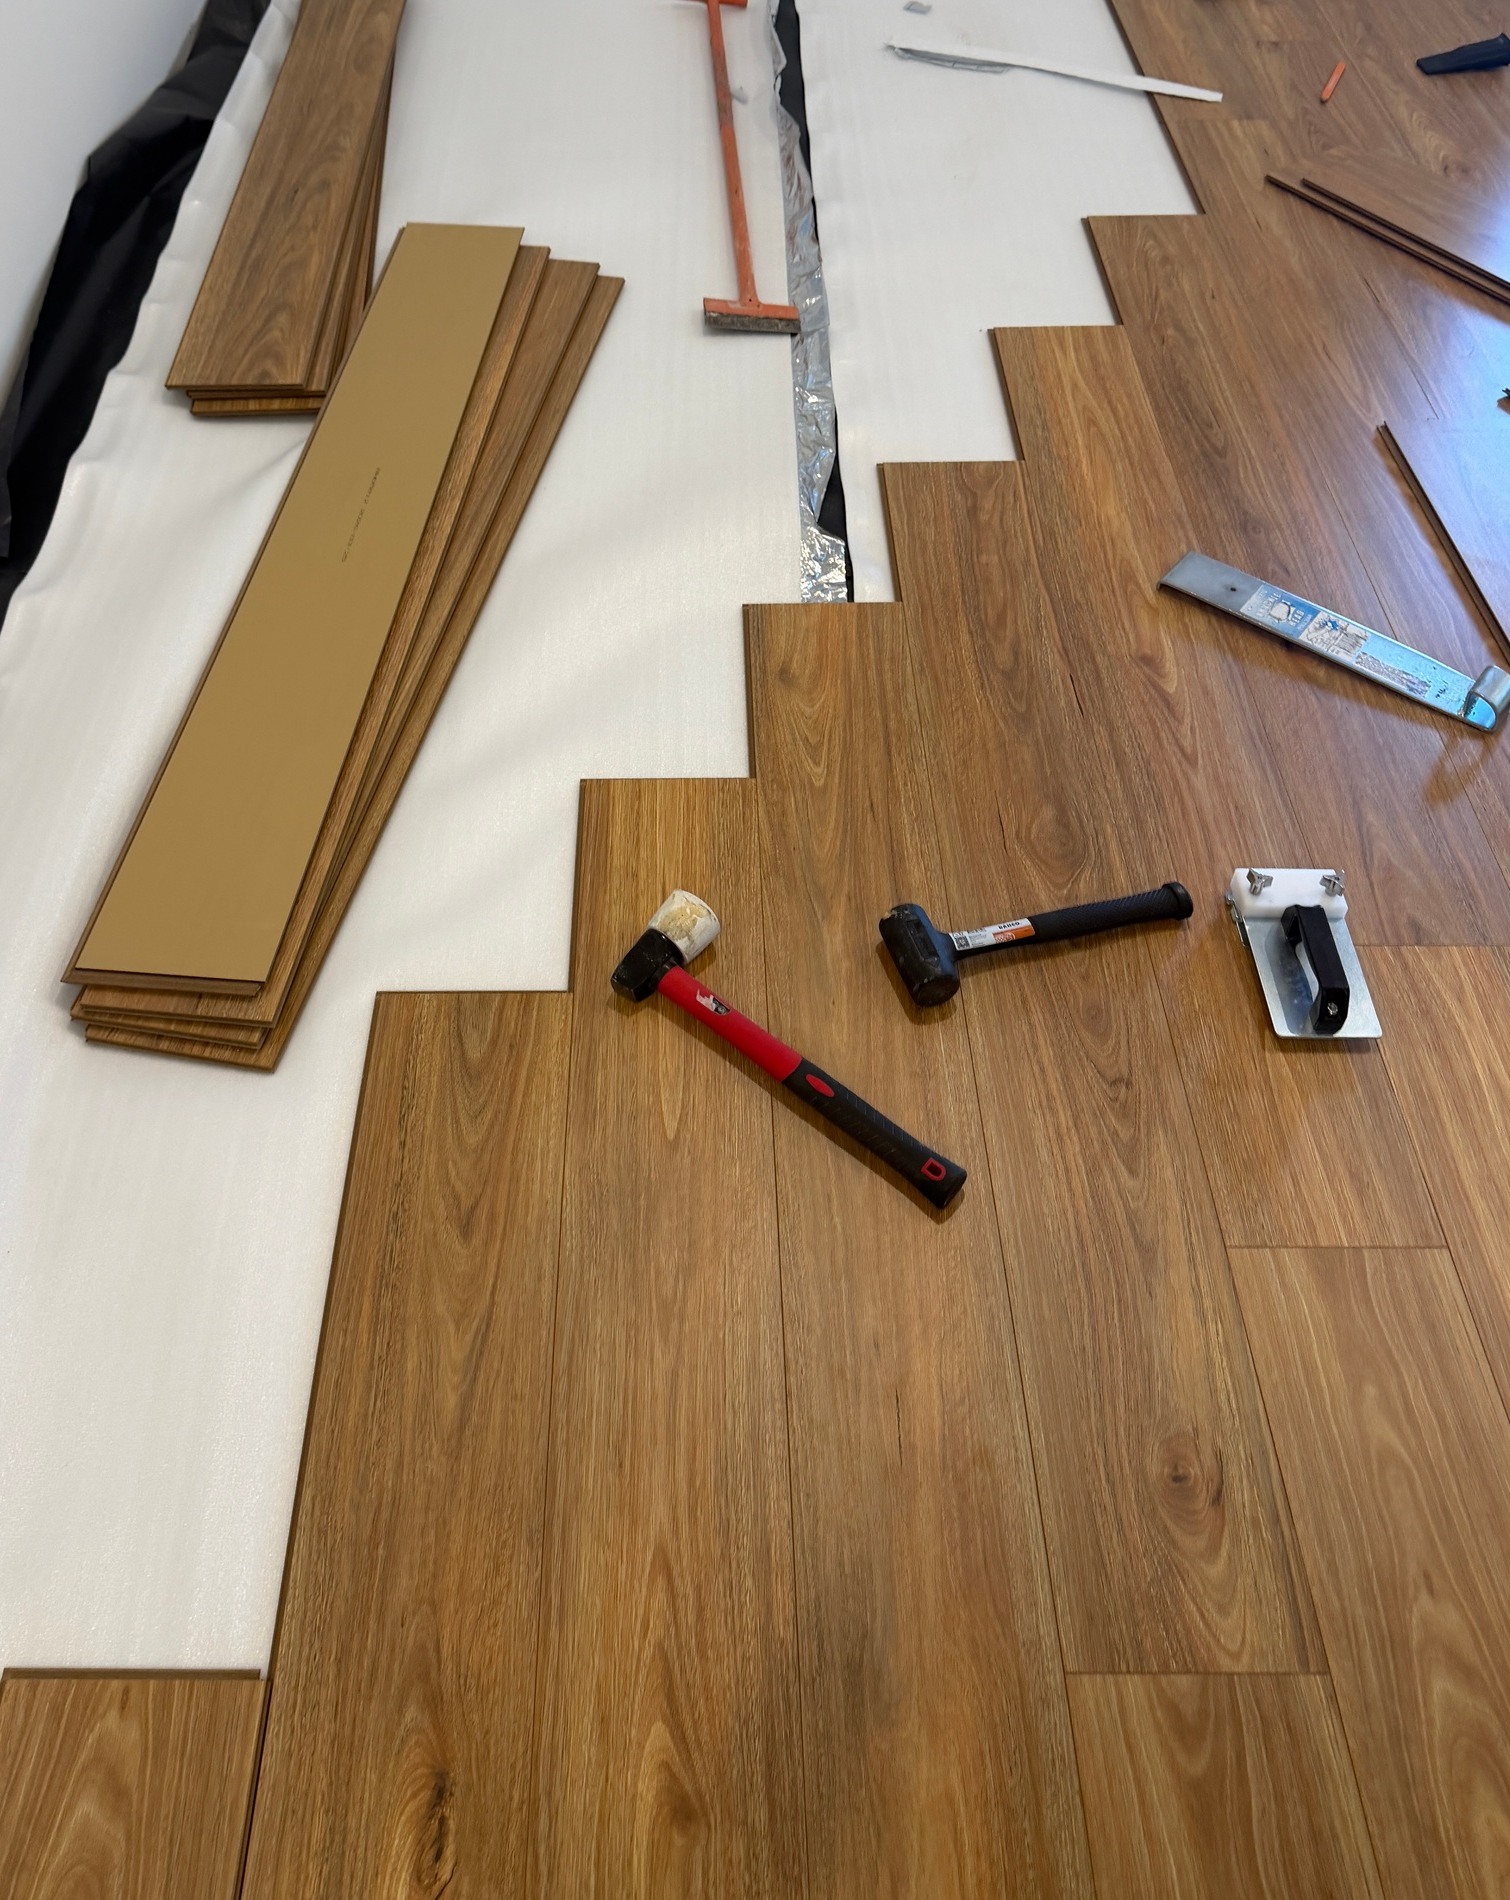
The finish is in the details
Real work.
Look a little closer.
Meeting a wardrobe track. Carrying a floor through a doorway. These close-ups show Artemis workmanship in the places that deserve attention. Tap a photograph to see the detail.
A considered transition.
The wardrobe track, straight-laid interior and herringbone border meet in one detail.
Connected spaces.
The flooring and its perimeter finish continue through the doorway.
Actual work photographs supplied by Artemis. Cropped and rotated for clarity; the flooring and fitting details have not been digitally reconstructed.
See the difference in the details
A thoughtful layout.
Before installation.
Change the board format and direction, then explore the checks. This demonstration turns practical laying principles into something you can see. A neutral oak illustration keeps the focus on the pattern; it is not a product-colour simulation.
Illustrative room: 3.6 × 3.4 m. No customer address or measured site data. This is a layout demonstration, not a released cutting plan. Expansion gaps and product-specific requirements are confirmed for the actual installation.
Experience makes the decisions
The craft is in the judgement.
The precision is in the plan.
Rooms are rarely as simple as a drawing. Walls can run out of square. Doorways affect the first line. Subfloors reveal their condition only when the old covering is lifted.
Our flooring experience guides those decisions. Our in-house planning tools help us explore the room, compare plank formats and check a proposed set-out consistently.
Plan carefully.
Verify on site.
Finish with care.
- Understand the roomConfirm dimensions, access, doorways, floor levels and the substrate before committing to a cutting plan.
- Let the product guide the methodCheck the manufacturer’s joint offset, minimum cuts, flatness, moisture, expansion and installation instructions for the chosen range.
- Make the layout visibleExplore the board format and direction, the room’s edge cuts and the pattern before installation.
- Use AI with a clear purposeAI-assisted visuals help explain possibilities. Geometry checks test the layout; experienced installers confirm the real conditions and final set-out.
- Finish the whole roomCoordinate the appropriate moisture protection, underlay, colour-matched finishing details and transitions for the selected floor.
A considered installation journey
From your room
to a carefully finished floor.
Each job sets its own sequence and timing. These are the decisions we work through, with any extra subfloor work scoped and priced separately.
A cleaner approach to installation
Plan more.
Cut less in the home.
A verified set-out can identify suitable cuts before installation. Where the job allows, selected boards can be prepared off site, then brought in ready for fitting.
Every suitable cut moved out of your home removes that cutting operation’s dust from the indoor work area. We aim to reduce dust at its source, while planning safe cutting and extraction at the preparation location.
Verify the geometry
Suitable cuts off site
Fit and finish on site
Off-site preparation is confirmed job by job after measurement, product checks and site assessment. Final fitting cuts, removal and subfloor preparation may still produce dust. We do not promise a completely dust-free renovation.
Confidence comes from understanding
Choose the floor.
Understand the method.
Explore the differences between laminate, hybrid and engineered timber, including what water claims mean and why the surface below the boards matters.
About this showcase and its references
The laying principles and installation reference were supplied by Artemis. The interactive room is illustrative. Its 30% joint separation, 300 mm end pieces and balanced side cuts are demonstration rules; the actual product’s instructions and verified site geometry govern installation. The photo shows work in progress, including an unfinished stepped front.
Dust-control background: SafeWork NSW · Wood dust: health hazards and control and SafeWork NSW · Saws checklist. Cutting, extraction and housekeeping remain necessary controls at the work location.
Prepared 20 October 2026. In-house planning demonstration; no claim that this page has measured a property, released a cutting order or completed an installation.